Editing the UE5 Engine Shaders
Sometimes it’s interesting to make edits to Unreal’s rendering at the engine side, be it for tweaking some specific behavior, fixing small bugs or even adding extra functionality. Thankfully the engine shader files can be edited and recompiled without recompiling the engine itself allowing many such changes for those like me that stick strictly to the launcher version of Unreal.
Over the years I’ve made edits to shaders such as Shadows, Lumen Lighting / Reflections, TAA, SSR, Motion Blur, Skylight, and even a bit of NPR rendering on the Base Pass - all without the need to recompile the engine.
Making changes to the Shader files
The shader files can be found in your Unreal installation folder within the Engine/Shaders/Private/ folder and can be opened with any text editor.
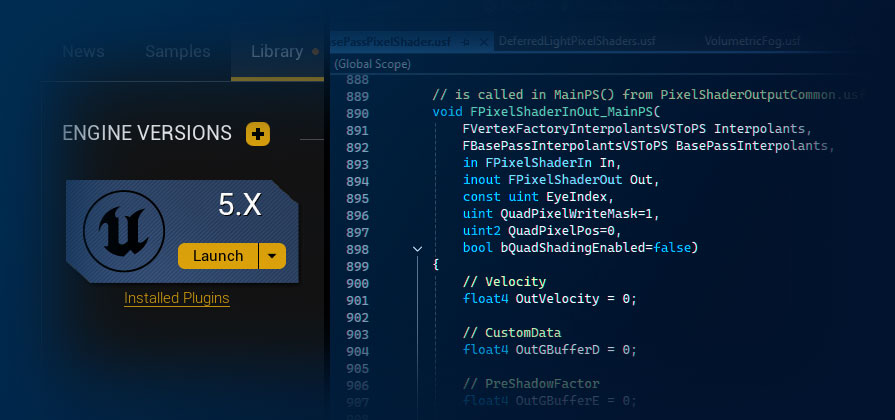
If you’re already using Visual Studio on a C++ project the setup is even better as you will already have the shader files in the Solution within the filters at Engine/UE5/Shaders/Private/.
The first challenge is figuring out where the engine does the exact thing you want to change, which will take some exploring and some trial and error. I usually try editing outputs to some obvious values such as setting the color to red - this way I can quickly see if I’m editing the right thing.
When editing the engine shaders it’s always recommended to set r.ShaderDevelopmentMode to 1 as described in the Unreal Documentation. Without it any error in the shader code will cause the engine to crash.
Shaders can be edited with Unreal running. After modifying and saving any shader file simply switch back to Unreal and press Ctrl + Shift + . to trigger recompiling any changed shaders. This might take anything from a few seconds to several minutes depending on the shader that was changed.
Example
As a very simple example I’ll be editing the DeferredLightingPixelShaders.usf file.
At line 401 (in UE 5.7), you’ll find the following code:
// RGB:SceneColor Specular and Diffuse
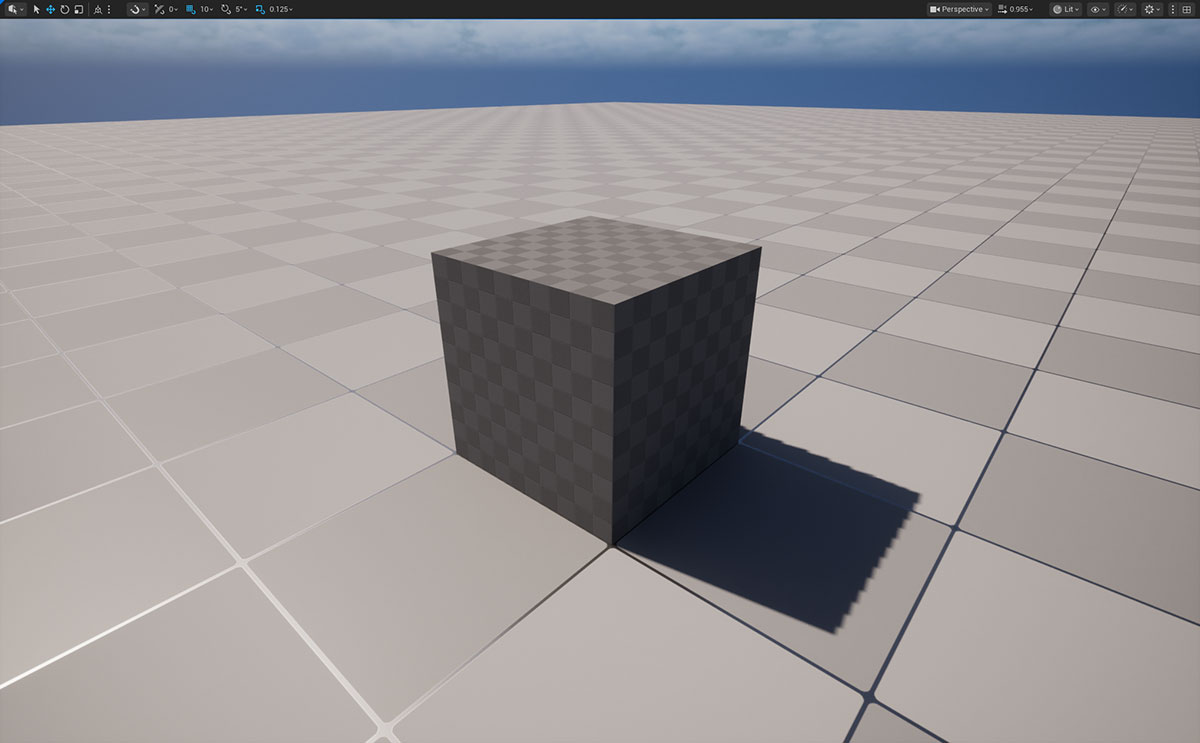
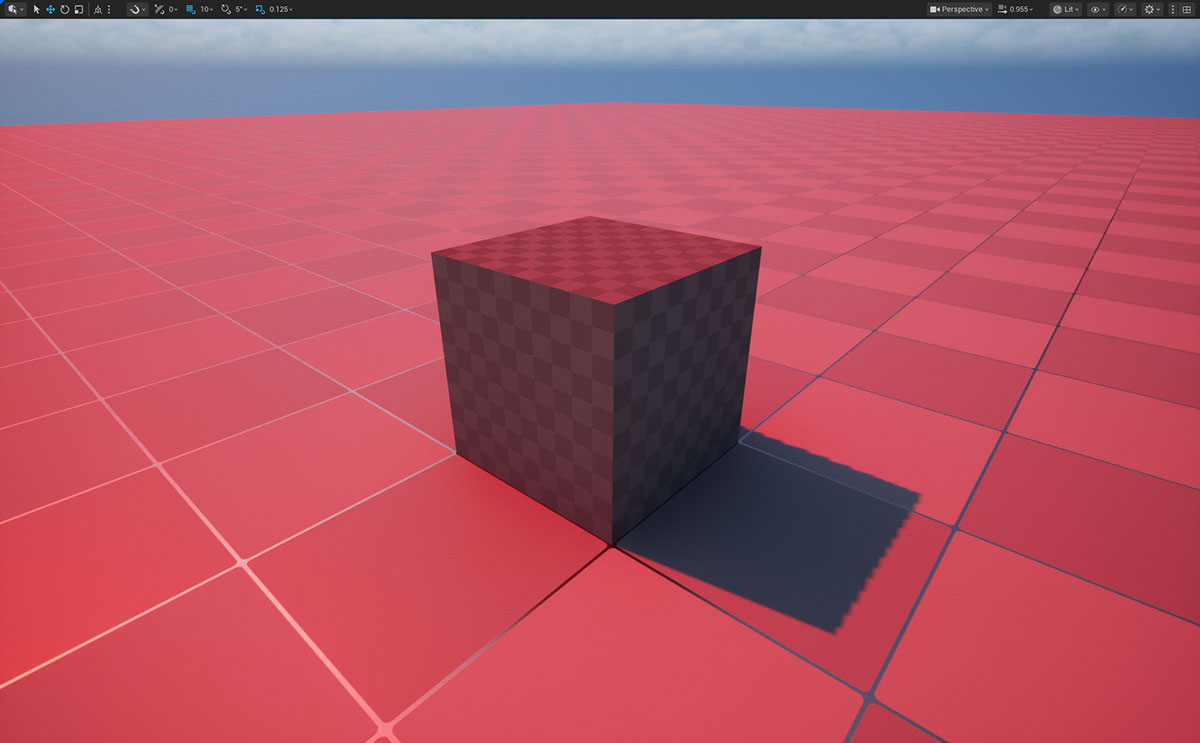
Right before that I’m adding a new line with the following:
OutColor.gb = 0.0f;
This simply zero-outs the green and blue components of any light’s color, turning it red. The result before/after:
Of course this is a silly change, why would you want all lights to be red? Well I’ll be showing some more interesting engine shader changes sometime in the future.
Maintaining the changes
You should be aware that any engine shader changes will be lost when updating the engine from the Launcher, so you should be mindful to keep track of your engine changes to be able to re-apply them later.
If you use source control a simple way to keep track is to copy the un-edited shader files to a folder in your game repository and make subsequent pushes with the edits in order to easily see the commit diffs. If you work with multiple people this also makes it easier for everyone to see the changes and apply them locally. It’s not the most sophisticated method but it’s simple and it works.
Also keep in mind that making a build of the game will need the build machine to have the engine shader changes applied as well.
Comments?
If you have any comments or questions feel free to reply to the relevant Twitter post, Bluesky post, ArtStation post or LinkedIn post.